How to Remove a Temporary Filling Safely at Home
If you choose to remove a temporary filling at home, or if instructed to do so by your dentist, it’s crucial to follow these steps carefully:
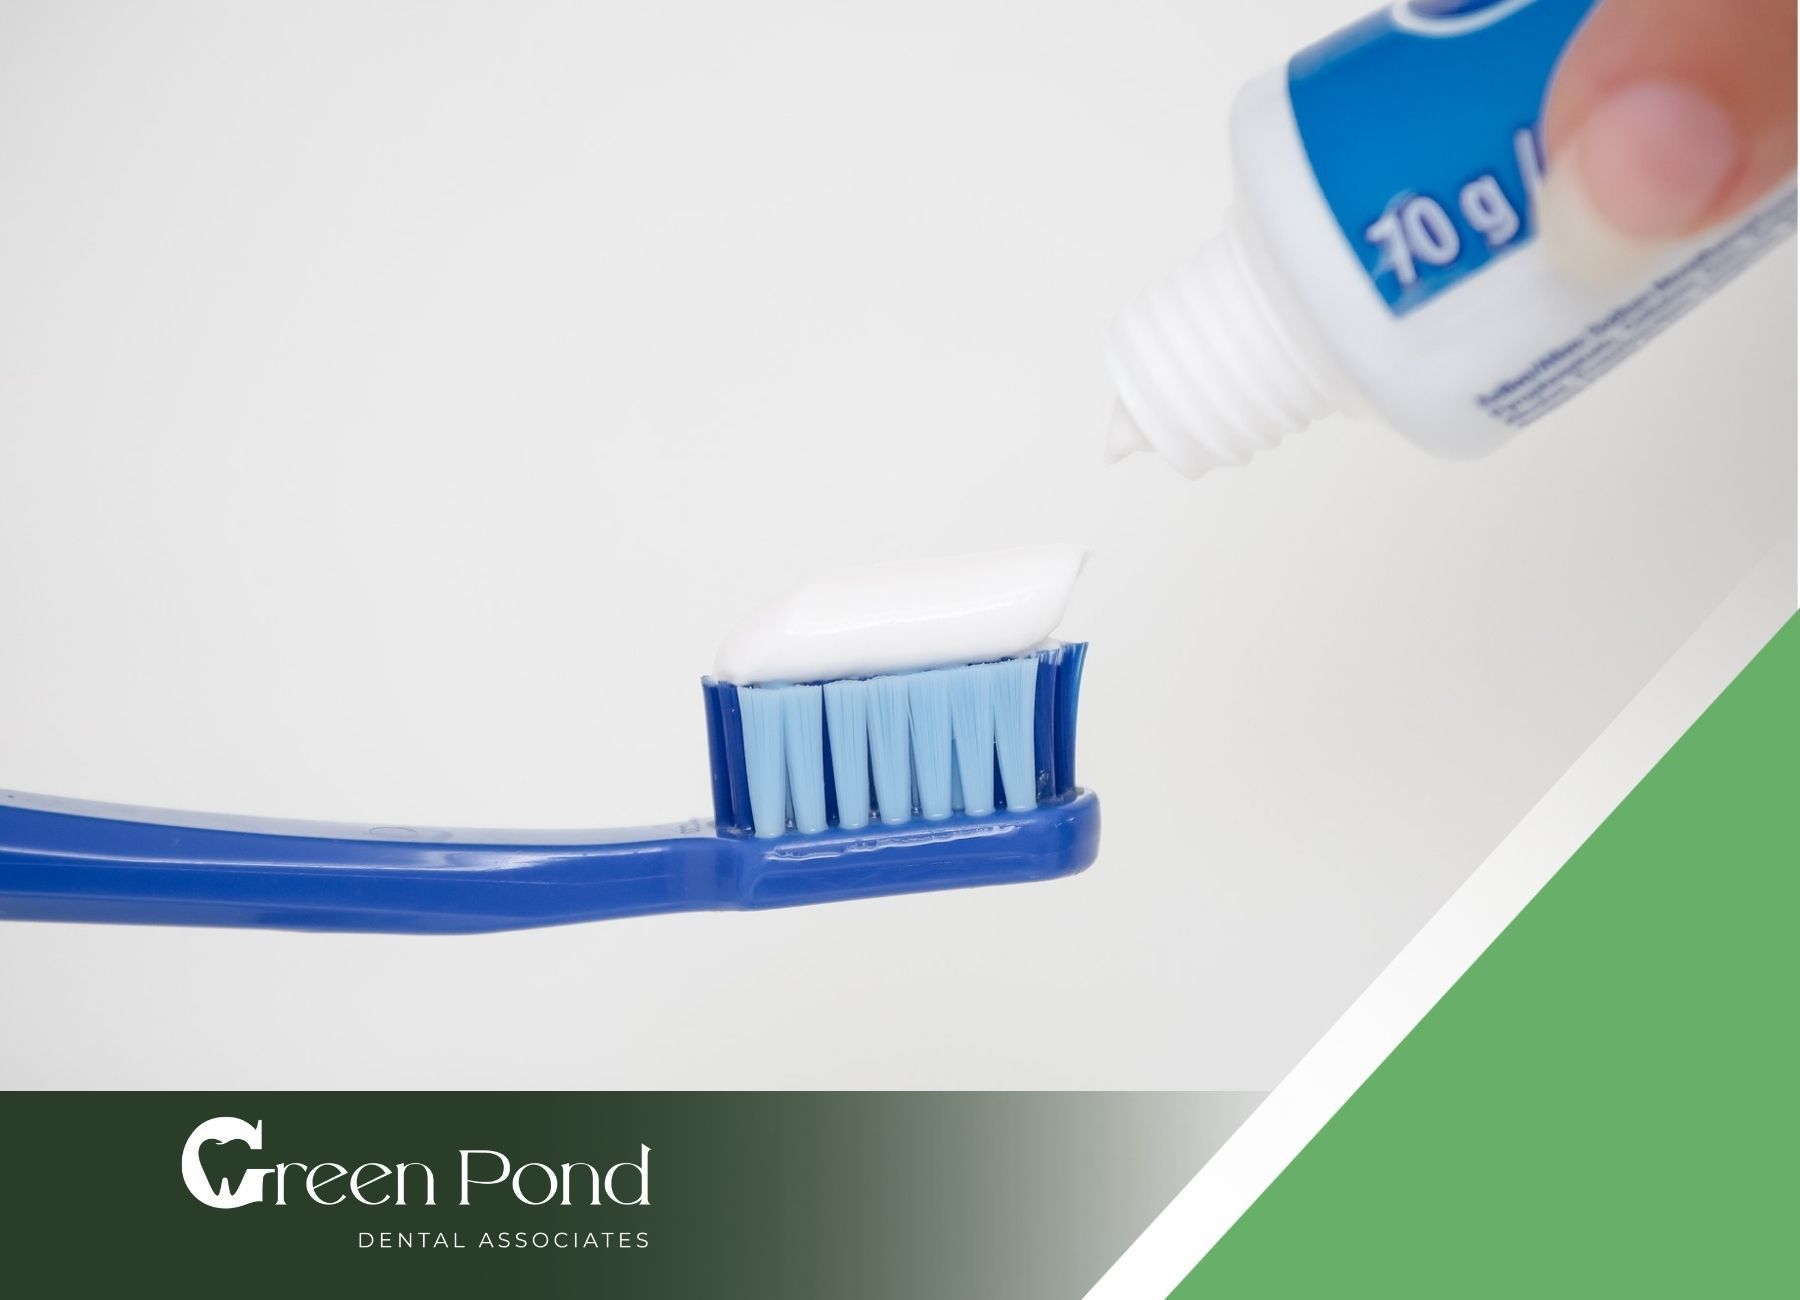
Step 1: Gather Necessary Tools
Make sure you have the right tools to remove the filling. This typically includes:
- A pair of sterilized tweezers.
- A small dental spoon or scraper (you can use a clean plastic or wooden tool if you don’t have access to dental-specific instruments).
- A cotton ball or swab.
- A mirror to check your progress.
Step 2: Prepare the Area
- Wash your hands thoroughly to reduce the risk of introducing bacteria into your mouth.
- Sterilize the tools by soaking them in boiling water or using alcohol wipes to disinfect them.
Step 3: Loosen the Filling
- Gently use the scraper or dental tool to loosen the edges of the temporary filling. Take your time to avoid damaging the surrounding tooth structure.
- If the filling is soft or brittle, it may break into small pieces. This is normal; continue to gently scrape the remaining material out of the cavity.
Step 4: Clean the Cavity
- Once the temporary filling is removed, clean the cavity with a cotton swab or ball to remove any leftover filling debris.
- Ensure that the cavity is free from any foreign material and that the tooth is clean.
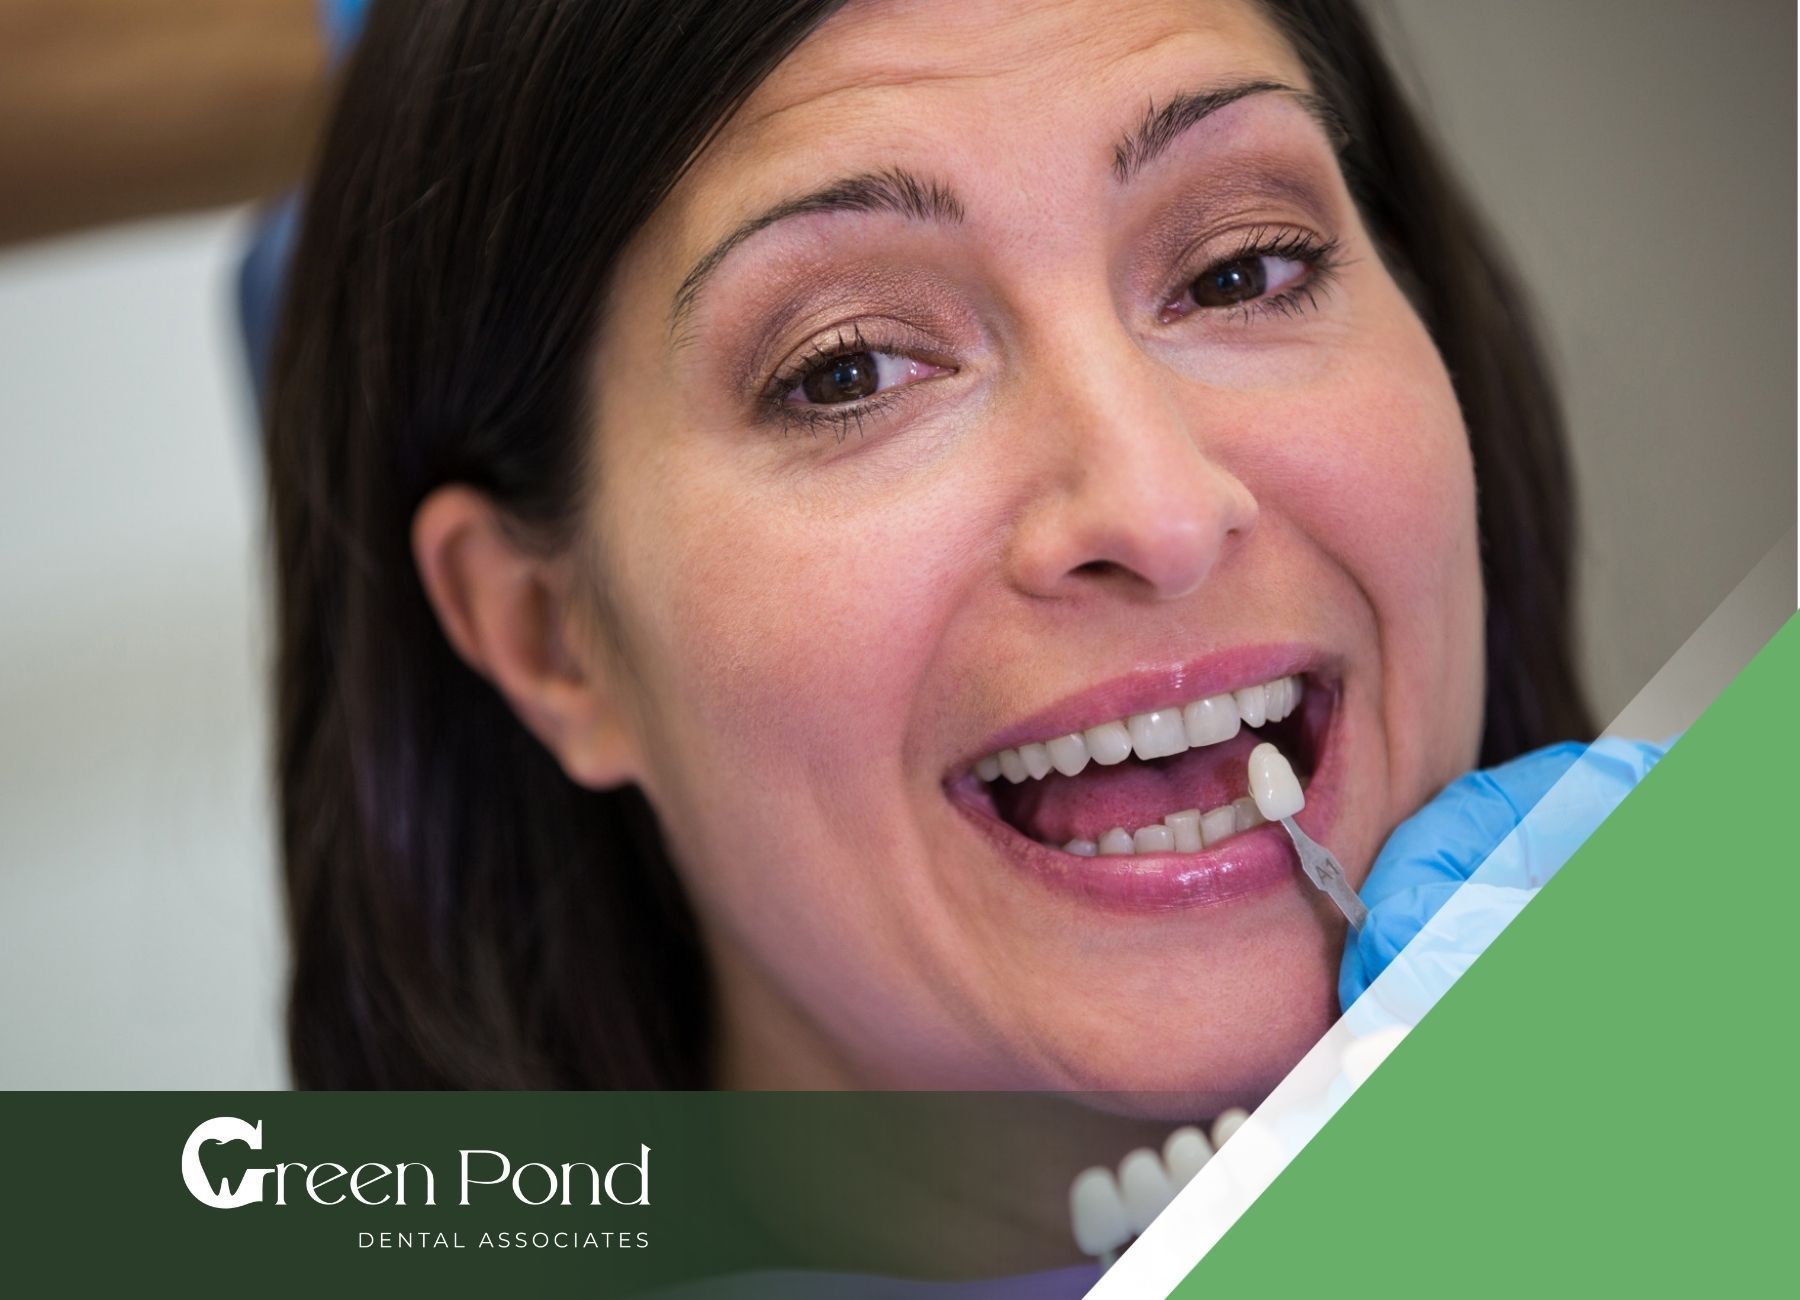
Step 5: Evaluate the Tooth
Check for any signs of infection, sensitivity, or damage. If the cavity looks irritated, inflamed, or if the tooth feels sensitive, it’s best to visit your dentist for further evaluation.
Step 6: Apply Temporary Care
If necessary, apply a temporary filling material to protect the tooth until you can visit your dentist for a permanent restoration. These can be found at most drugstores in the dental care aisle. However, this should only be a temporary measure.
What Happens if You Don’t Remove a Temporary Filling?
Leaving a temporary filling in place for longer than necessary can lead to complications. Here’s why it’s important to have it removed:
Tooth Sensitivity
If the filling deteriorates, it can expose the tooth to air, which may cause pain and sensitivity.
Infection Risk
A worn-out temporary filling may allow bacteria to enter the tooth, leading to an infection, especially if the tooth was treated for a cavity or root canal.
Further Damage to the Tooth
Over time, a temporary filling may lose its protective properties, which can lead to damage or decay beneath the filling.
Risks and Complications of Removing a Temporary Filling
Although the process of removing a temporary filling is generally straightforward, there are certain risks involved:
1. Tooth Damage
If the removal is too aggressive or improper, you may damage the tooth’s surface or cause chips. This can make it harder for a permanent filling or restoration to adhere correctly.
2. Infection
Inadequate sterilization or introducing bacteria during removal can lead to infection. Ensure your tools are sterile and the area is clean.
3. Incomplete Removal
If a portion of the filling material remains in the cavity, it may cause issues such as sensitivity, irritation, or a poor fit for the permanent filling. Make sure to remove all remnants of the temporary filling.
Aftercare After Temporary Filling Removal
Once the temporary filling has been removed, whether by a dentist or at home, it’s important to follow these steps to ensure optimal care:
1. Pain Management
If the tooth is sensitive after removal, over-the-counter pain relievers such as ibuprofen or acetaminophen can help alleviate discomfort. Avoid placing pressure on the tooth until it is properly sealed with a permanent restoration.
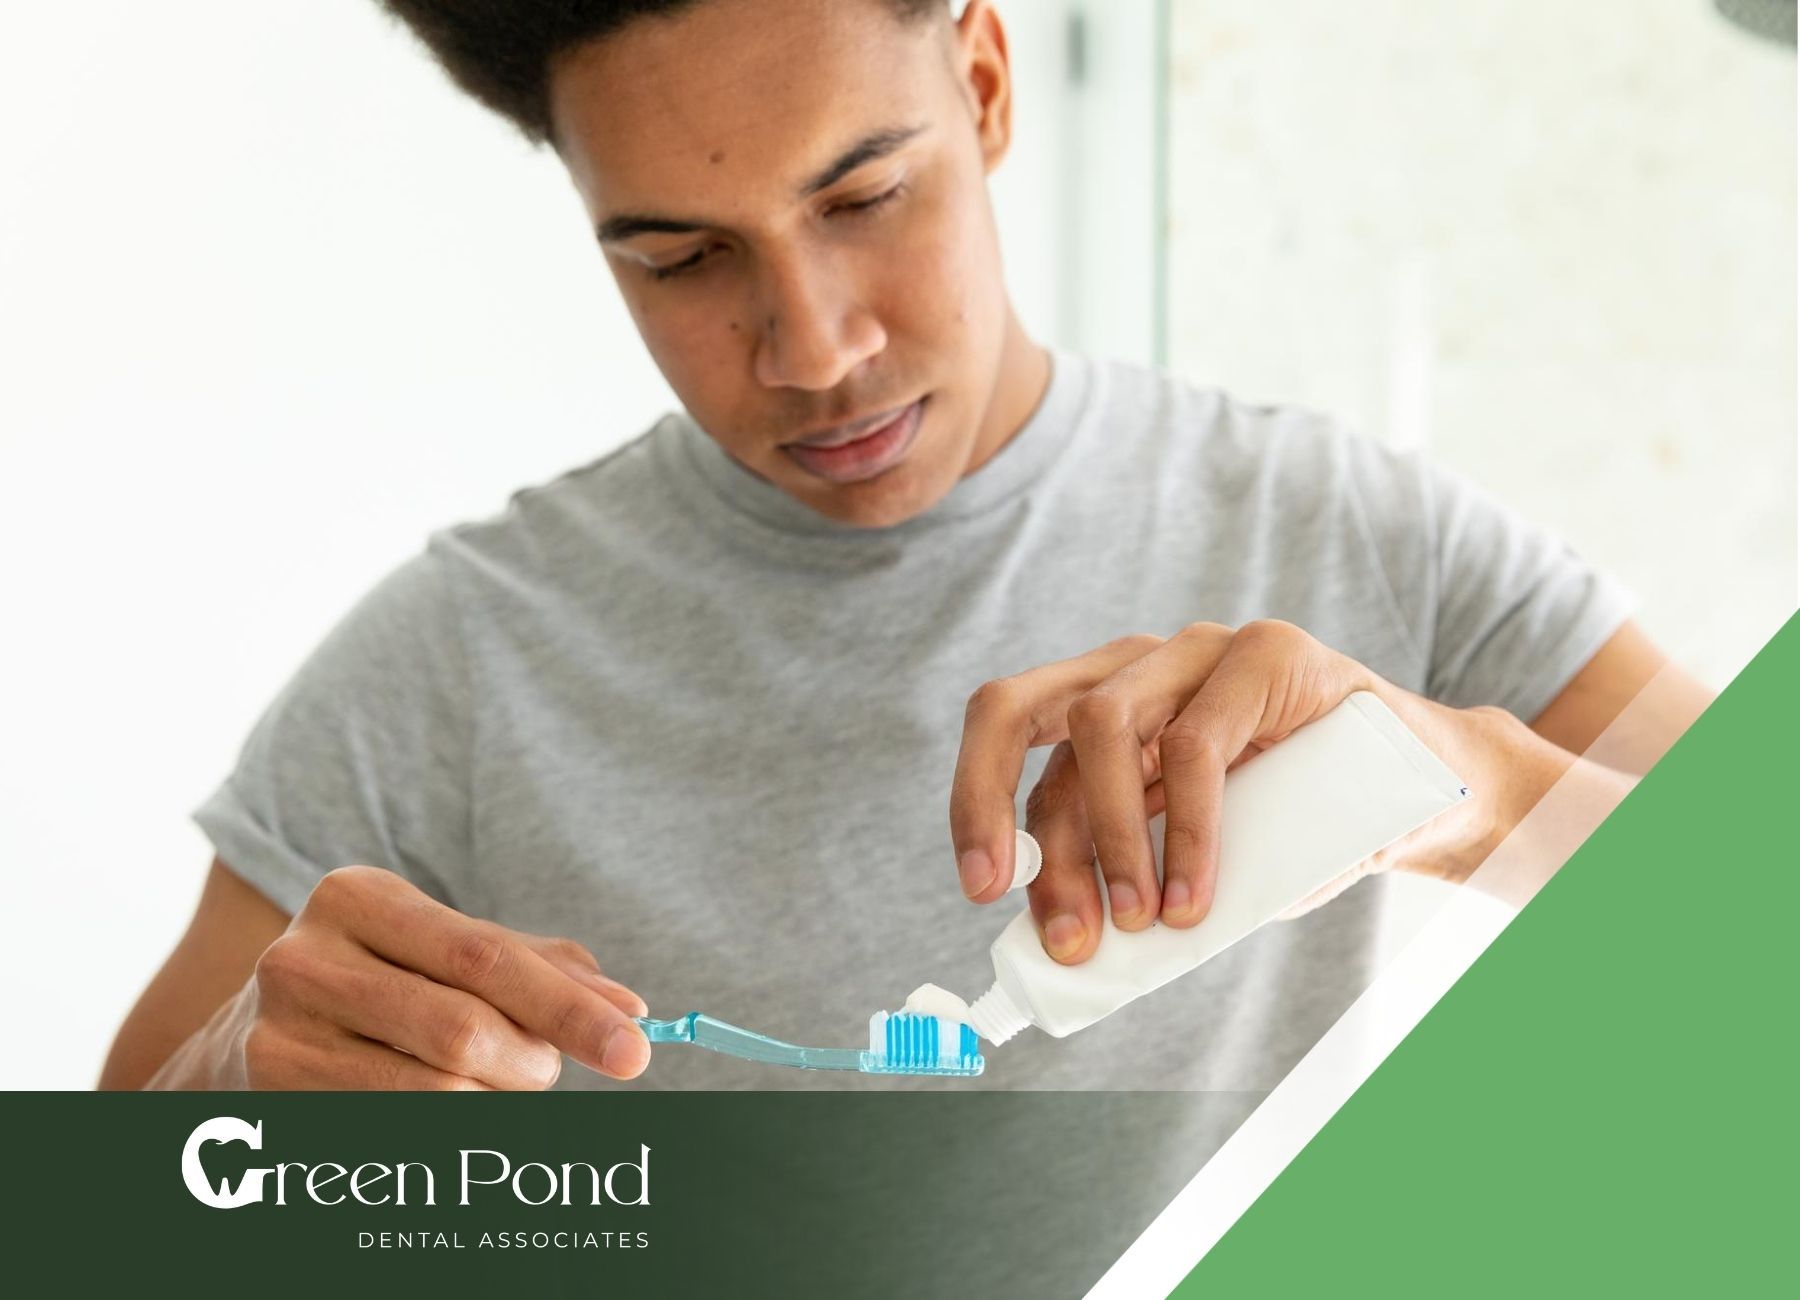
2. Maintain Oral Hygiene
Continue
brushing and flossing your teeth, but be gentle around the area of the filling. Avoid direct contact with the exposed tooth until it is properly restored.
3. Dietary Considerations
For the first 24-48 hours after removing a temporary filling, stick to soft foods that won’t irritate the exposed area. Avoid chewing directly on the treated tooth.
Conclusion
Removing a temporary dental filling can be a straightforward process, but it’s important to approach it with caution. While it’s best to have the filling removed by a dentist, some patients may need or choose to do it at home. Understanding the risks, process, and when to seek professional help can ensure a smooth transition to a permanent filling or restoration.
At
Green Pond Dental, we provide comprehensive dental care, including the safe removal and replacement of temporary fillings. If you're unsure about removing a temporary filling or need assistance, don’t hesitate to
contact us. We’re here to help you maintain a healthy smile.
FAQs